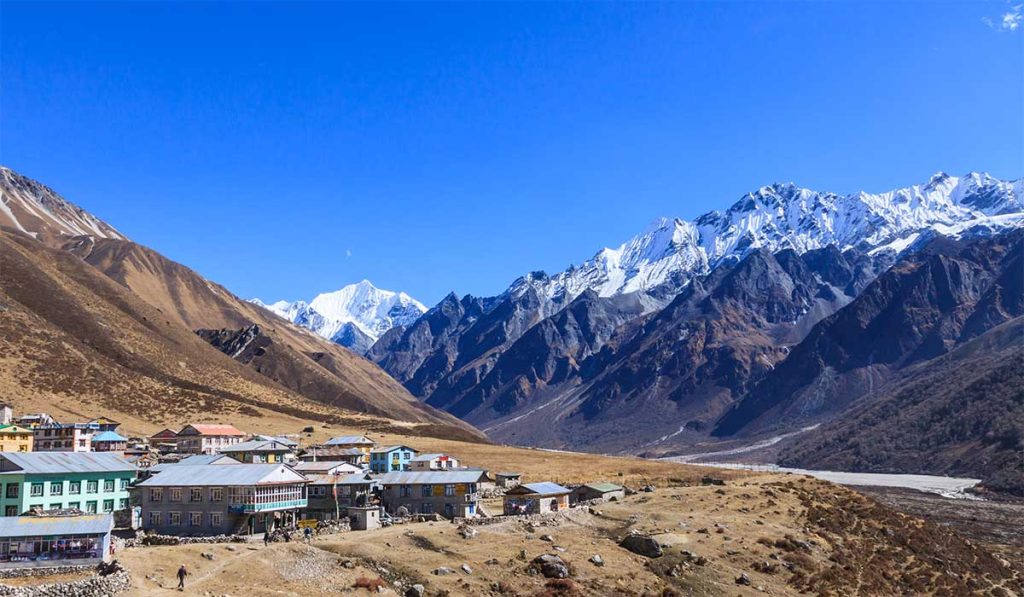
A Nepal trek gets harder long before the trail turns steep. It gets harder when you realize a local day hike at sea level does not fully prepare you for repeated climbs above 10,000 feet, long walking days, and the slower recovery that comes with altitude. If you are wondering how to train for Nepal trek routes, the goal is not to become an athlete. The goal is to build the kind of fitness that still feels reliable on day five, not just day one.
That matters because Nepal trekking difficulty is rarely about one single factor. A route like Poon Hill may be manageable for many active travelers with focused prep, while Gokyo Lakes, Langtang, or Mardi Himal can feel much more demanding when altitude, back-to-back days, cold mornings, and uneven terrain stack up. Good training reduces the chance that normal trail fatigue turns into a miserable trip.
How to train for Nepal trek routes realistically
The most useful way to train is to match your preparation to the actual demands of your route. Most Nepal treks require steady aerobic endurance, leg strength, balance on uneven trails, and enough durability to hike several days in a row. That is different from training for a road race or lifting for maximum strength.
For most trekkers, a solid plan starts 8 to 12 weeks before departure. If you already hike regularly, 8 weeks may be enough for shorter or moderate routes. If you are starting from a low fitness base, carrying extra weight, or planning a higher trek with longer days, give yourself closer to 12 weeks or more.
Your weekly training should cover three things at once. First, build aerobic capacity through walking, uphill hiking, stair climbing, incline treadmill work, cycling, or similar steady efforts. Second, add strength work for legs and core so climbs and descents do not wreck you. Third, practice hiking specifically, ideally with the same boots, socks, and pack setup you will use in Nepal.
The fitness you actually need in Nepal
Endurance matters more than speed. On trek, you are usually not trying to move fast. You are trying to keep moving for hours, often at a controlled pace, on trails that keep asking for one more climb. If you can jog a fast 5K but struggle to walk uphill for three hours, your training is not yet specific enough.
Leg strength is the next priority, especially for descents. Many trekkers focus on climbing fitness and ignore downhill conditioning. In Nepal, long descents can punish quads and knees more than the ascent. Step-downs, split squats, lunges, and loaded stair work help prepare for that.
Core stability and balance matter more than many first-time trekkers expect. Trails can be rocky, dusty, icy, or irregular. A stronger trunk helps you carry a daypack more comfortably and move with better control on uneven ground.
Altitude is the wild card. You cannot fully train for high altitude at sea level, and being fit does not make you immune to acute mountain sickness. Fitness helps you cope with the physical workload, but acclimatization, pacing, hydration, and route design are still essential.
A simple 8 to 12 week training approach
In the first phase, spend two to four weeks building consistency. Aim for four to five training days per week. That might mean two aerobic sessions of 30 to 45 minutes, two strength sessions, and one longer weekend walk or hike. If your current routine is inconsistent, this phase matters more than intensity.
In the middle phase, increase the workload gradually. Add longer uphill sessions, extend your weekend hike, and start carrying a light pack. A typical week might include one moderate cardio workout, one stair or hill session, two strength sessions, and one longer hike of two to five hours depending on your route.
In the final phase, make your training look more like trekking. Hike on back-to-back days if possible. Use stairs or hills while carrying the pack weight you expect to carry in Nepal. If you are doing a teahouse trek and only carrying daily essentials, that may be 10 to 15 pounds. If you are carrying more of your own gear, train accordingly.
The last week before departure should be lighter. Keep moving, but cut volume so you arrive recovered rather than worn down.
Weekly training template
A practical week for many trekkers looks like this:
- 2 aerobic sessions of 40 to 60 minutes
- 1 uphill session on stairs, hills, or incline treadmill
- 2 strength sessions focused on legs and core
- 1 long hike, preferably on trails, gradually increasing duration
If that feels like too much, reduce volume before you reduce consistency. Three well-planned sessions every week beat six sessions followed by burnout.
Strength training for trekking
You do not need a complex gym program, but you do need lower-body strength. Focus on movements that resemble the trail. Squats, step-ups, split squats, lunges, Romanian deadlifts, calf raises, and controlled step-downs are all useful. Pair those with planks, side planks, and anti-rotation core exercises.
Use moderate loads and controlled reps rather than chasing heavy personal records. Trekking demands repeatable strength and muscular endurance. Two sessions per week is enough for many people if they stay consistent.
If you have a history of knee pain, prioritize eccentric work for descents. Slow step-downs and downhill hiking practice can make a real difference. If your ankles are unstable, add single-leg balance work and calf strength.
Hiking practice matters more than gym fitness alone
The closest thing to trek training is hiking. If you have access to trails, use them. Uneven surfaces, variable grades, and time on your feet are hard to replicate perfectly indoors.
That said, not everyone lives near mountains. If you do not, stairs and incline treadmills are effective substitutes. A long stair session with a pack can be surprisingly specific. The key is sustained effort, not short bursts. You want to simulate the slow, grinding nature of uphill trekking.
Practice with the gear you will actually bring. Boots that feel fine for one hour can create blisters after four. A daypack that seems comfortable in town may rub your shoulders badly on a long ascent. Training is where you find these problems.
How to train for Nepal trek altitude demands
You cannot fully mimic trekking at 12,000 to 16,000 feet from home unless you already live at altitude. What you can do is arrive with a strong aerobic base and realistic expectations. That means understanding that pace in Nepal should be slower than what feels natural at lower elevations.
Do not try to compensate for altitude risk by overtraining. The fitter you are, the easier it is to move too fast early in the trek. That can work against acclimatization. A better approach is to train hard at home, then trek conservatively in Nepal.
If your itinerary includes high sleeping elevations or rapid ascent, route planning matters as much as fitness. Rest days, gradual elevation gain, and watching for symptoms are part of preparation. This is one area where many trekkers confuse being strong with being ready.
Common training mistakes
The biggest mistake is focusing only on cardio. Strong lungs help, but weak legs and poor downhill conditioning can still ruin the trip.
The second mistake is underestimating pack carry and back-to-back fatigue. One long hike each week is useful, but two moderate hikes on consecutive days often tells you more about trek readiness.
The third mistake is leaving everything too late. You can improve a lot in a month, but you cannot build deep endurance in panic mode.
Another common issue is training at too high an intensity. Nepal trekking is usually a long, submaximal effort. If every workout leaves you exhausted, you may be building fatigue without enough specificity.
Adjust your training to the route
A shorter route like Poon Hill usually calls for less volume than a trek with higher altitude and longer days like Gokyo Lakes or parts of Langtang. Mardi Himal may look shorter on paper, but the sustained climbing can still feel demanding. Pikey Peak can be a better option for trekkers who want big views with somewhat lower altitude exposure than some major high routes.
This is why route choice and training should be connected. If your available training time is limited and your hiking base is modest, there is no shame in choosing a trek that better matches your current condition. A well-matched route is often safer and more enjoyable than forcing a bigger objective.
Final prep before departure
In the last two weeks, prioritize sleep, hydration, and gear testing. Keep training, but do not try to cram fitness at the end. If something hurts consistently during training, address it before you fly.
Trekking in Nepal rewards steady preparation more than heroic effort. If you train for time on your feet, uphill work, downhill resilience, and realistic pacing, you give yourself a much better chance of enjoying the mountain days instead of simply enduring them. That is the kind of fitness that matters when the trail gets long and the air gets thin.