
A lot of trekkers come back from Langtang with stronger memories than photos. The scenery is huge, the light changes fast, and many of the best moments happen when you are tired, cold, or simply moving. That is what makes Langtang Trek Photography rewarding – and also a little challenging. If you understand the route, the weather, and the rhythm of the trek, you can return with images that actually match what you saw.
Langtang is one of the best treks in Nepal for photographers who want variety without committing to a very long expedition. In a relatively short itinerary, you move through forest, river valleys, traditional settlements, open alpine terrain, and wide mountain viewpoints. The route gives you close human-scale scenes as well as dramatic Himalayan backgrounds. That range is the real strength of photographing Langtang.
Why Langtang is so photogenic
Some trekking regions are dominated by one type of landscape. Langtang changes character steadily as you gain altitude, and that helps your photo set feel complete rather than repetitive. Early sections around Syabrubesi and Lama Hotel offer forest light, waterfalls, prayer flags, suspension bridges, and misty morning scenes. Higher up, the valley opens and the scale shifts. Kyanjin Gompa brings broad terrain, glacial features, stone houses, yaks, and layered mountain walls.
This trek also has a more intimate feel than some of Nepal’s busier routes. That matters for photography. You can often work more patiently in villages or along the trail without the same crowd pressure found on the main Everest or Annapurna corridors. The result is not only better landscape shots, but also more natural images of local life, lodges, livestock, and everyday mountain activity.
Best light for Langtang Trek Photography
In Langtang, timing matters as much as camera gear. Midday can still produce good images, especially in the narrow valley where shadows create contrast, but your strongest light usually comes early and late. Morning is often the safer bet. Skies tend to be clearer, winds are lighter, and the mountains look more defined before clouds build.
If you are staying at Kyanjin Gompa, wake early even if the temperature feels brutal. First light on the peaks above the village is often the best photography window of the whole trek. The same is true if you hike up to Kyanjin Ri or Tserko Ri. Start before sunrise if conditions allow. You are not only chasing a better view but also softer side light that gives shape to the ridges and texture to the terrain.
Afternoon can still work well for village scenes, yak pastures, and trail details. Clouds sometimes add mood rather than ruin a shot. The mistake many trekkers make is packing the camera away as soon as the sky is no longer perfectly blue. In Langtang, shifting weather can create some of the most interesting frames.
What to photograph along the route
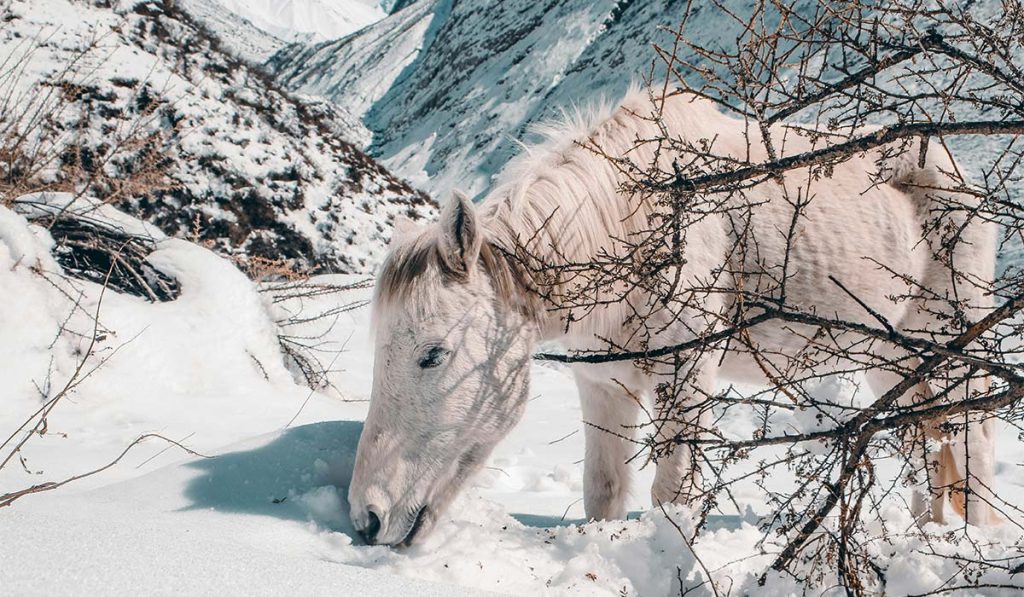
Most trekkers focus only on the big mountains, and that leaves gaps in the story of the trek. Langtang is best photographed as a sequence, not just as a collection of viewpoints. Forest paths with filtered light, mani walls, prayer wheels, stone lodges, and small interactions at tea houses all add context to the dramatic landscapes.
As you move higher, look for scale. A lone trekker on a trail, a yak caravan crossing the valley, or a cluster of houses beneath a massive ridge helps show how large the landscape really is. Without scale, mountain photographs can feel flatter than the real experience.
Kyanjin Gompa is the natural high point for many photographers, but do not ignore the lower valley. Ghodatabela often gives atmospheric shots with open ground and rising peaks. Langtang Village can be especially powerful because it combines rebuilt settlement life with the dramatic geography around it. Photographing both the terrain and the human resilience of the valley tells a more honest story of the place.
Camera gear that makes sense on this trek
You do not need a heavy professional kit to photograph Langtang well. In fact, too much gear often slows trekkers down and keeps cameras inside bags when moments happen quickly. A lightweight mirrorless or DSLR body with one versatile zoom is enough for most people. A lens in the range of wide to short telephoto works best because you can move between landscapes, portraits, village scenes, and compressed mountain layers without changing lenses constantly.
A phone camera can also do a good job if you know its limits. Modern phones are especially useful for quick trail shots, panoramas, and video clips. Their weakness is usually harsh contrast, distant mountain detail, and low-light scenes inside lodges or at dawn.
Bring spare batteries and keep them warm at night. Cold drains power much faster at altitude. A small power bank is useful, but charging opportunities depend on the lodge and sometimes cost extra. Carry a dry bag or simple waterproof cover because weather in Langtang can shift quickly, especially outside peak seasons.
A tripod helps if you are serious about sunrise, blue-hour village shots, or night sky photography near Kyanjin. But it is not essential for everyone. If you are trying to keep your pack light, image quality gained from a tripod may not be worth the extra weight unless photography is one of your main goals.
Weather, season, and visibility
Spring and autumn are usually the best seasons for Langtang Trek Photography. Autumn often gives the clearest mountain views, especially after monsoon dust has settled and the sky opens up. Spring brings rhododendron color lower down and can add more life to the trail, though haze and cloud buildup may be slightly more common depending on the week.
Winter can be excellent for clear views and crisp mountain definition, but the cold changes how you work. Batteries fade faster, fingers stiffen, and early starts become harder. Monsoon is the most difficult period for photography on this route. You may get dramatic mist and lush greenery, but landslides, rain, leeches in lower areas, and limited visibility can reduce your opportunities.
The practical lesson is simple: do not judge the whole trek by one cloudy afternoon. Langtang weather changes fast. A valley covered in cloud after lunch can open into a clean mountain evening or a bright sunrise the next morning.
Composing stronger images in Langtang
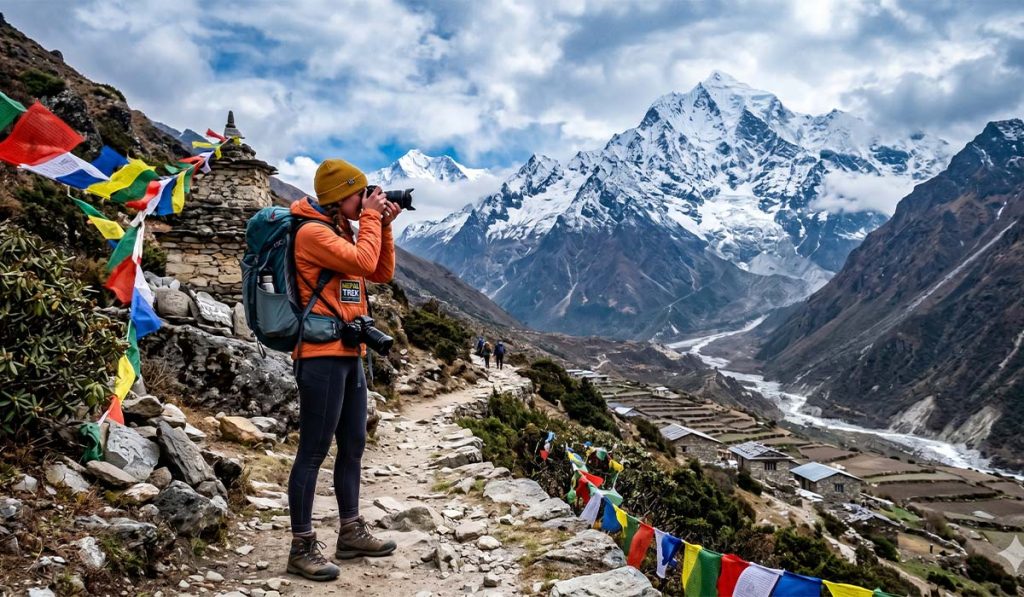
The mountains are naturally dominant here, so many trekkers point the camera upward and stop there. Try working with layers instead. Use prayer flags, stone walls, yak tracks, or foreground rocks to lead the eye into the frame. This gives depth and makes the photo feel more like a place you moved through.
Wide shots are important, but not every scene needs to be ultra-wide. Sometimes stepping back and using a slightly tighter frame gives the mountain better structure. This is especially true in Kyanjin, where too much empty foreground can weaken the image.
For people shots, ask when appropriate and be respectful around monasteries, homes, and private spaces. Natural moments often work better than posed ones. A guide checking the trail, a porter resting, or a tea house owner near the stove can say more about the trek than a forced smile at the camera.
Common mistakes trekkers make
The first mistake is carrying a camera but never making it accessible. If it stays buried under layers and snacks, you will miss trail moments. Keep it where you can reach it quickly, but protect it from dust and sudden weather.
The second is shooting only in perfect weather. Langtang has strong mood when clouds move through the valley or when light breaks unevenly across the slopes. Not every good mountain photo needs a flawless blue sky.
The third is forgetting the story. If your gallery includes only distant peaks, it will feel incomplete. Add meals, boots by the lodge door, prayer stones, rivers, bridges, and the people who shape the journey.
A practical shooting plan for the trek
If you want a simple approach, divide the trek into three visual themes. In the lower section, focus on atmosphere, forest texture, bridges, and river movement. In the middle valley, photograph settlements, trail life, and the transition into broader mountain terrain. Around Kyanjin Gompa, prioritize sunrise, high viewpoints, glacial landscapes, and small details that balance the scale of the peaks.
This approach helps when energy is low. You do not need to photograph everything every day. You only need to recognize what each section of the trail does best.
For trekkers who want both a rewarding route and strong images, Langtang is hard to beat. It gives you mountain drama, cultural detail, and changing terrain in a compact trek. If you travel with patience, start early, and photograph more than just the summits, your images will feel much closer to the real Langtang experience.

