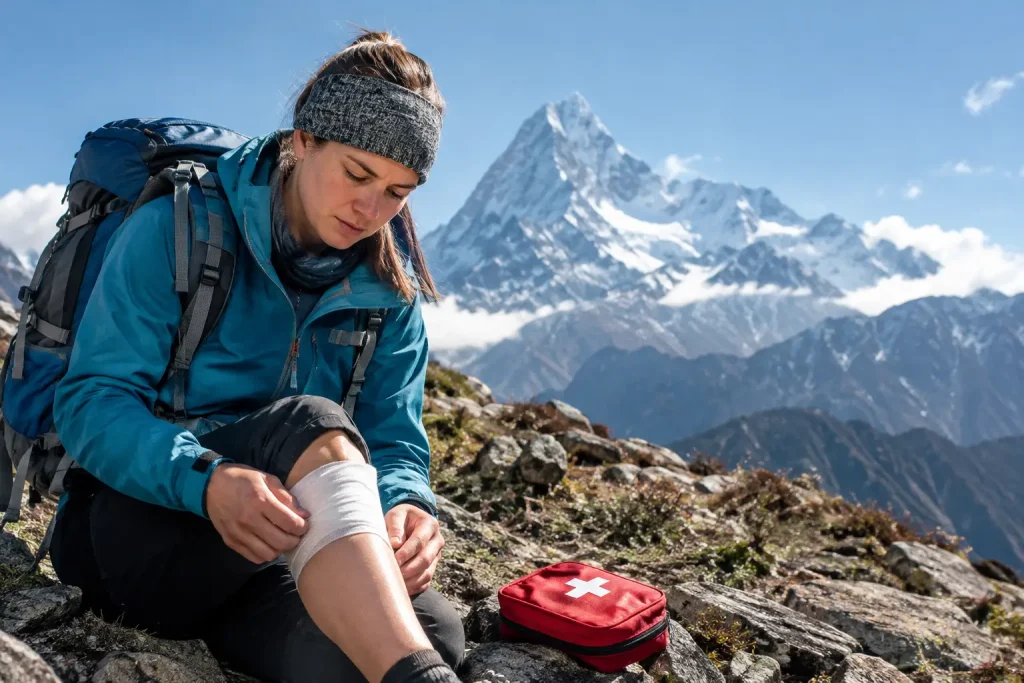
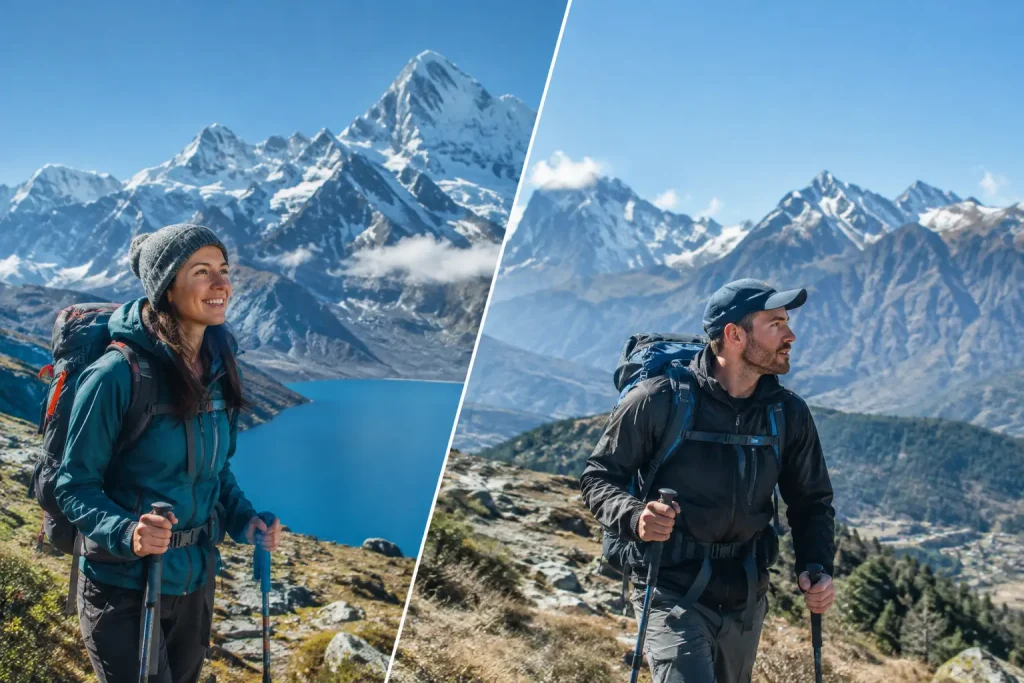
A long downhill from Poon Hill or a steep descent into the Langtang Valley can make healthy knees ache far more than the climb did. To prevent trekking knee pain, plan for the demands of descending before you arrive in Nepal, then manage each trekking day with the same care you give altitude, hydration, and pacing.
Knee discomfort is common on Himalayan treks, but it is not something to simply push through. It can change your walking mechanics, slow your group, and turn a manageable route into a difficult final few days. Good preparation cannot remove every risk, especially on uneven mountain trails, but it can significantly reduce the strain placed on your knees.
Why trekking causes knee pain
Most trekking knee pain is felt at the front of the knee, around or behind the kneecap. It often develops when the joint is repeatedly loaded during long descents. Every downhill step requires the quadriceps to control your body weight and the force increases further when you are carrying a pack, stepping down high stone stairs, or walking on loose ground.
Nepal trails create several common triggers at once. Routes such as Mardi Himal and Poon Hill can involve relentless stone steps. Gokyo Lakes and Langtang include long downhill days after a high point or pass. Rain, snow, fatigue, and rushed itineraries can make footing less stable. A person who is fit enough to walk uphill may still be unprepared for the eccentric strength needed to control a descent.
Pain is also not always caused by one issue. Weak hips, poor boot fit, a sudden increase in training volume, old injuries, and an overloaded backpack can combine. The useful approach is to reduce the total load rather than looking for one magic fix.
Build downhill strength before your trek
Walking is valuable training, but flat walking alone does not prepare the knees for Himalayan descents. Start focused preparation at least eight to 12 weeks before departure if possible. If you have a history of knee pain, begin earlier and progress more gradually.
Train your quadriceps and hips
Your quadriceps act as brakes on a descent. Strong glutes and hip muscles help keep the knee aligned as you step, particularly when the trail is uneven. Two or three strength sessions per week can make a meaningful difference.
Prioritize controlled movements rather than heavy weight alone. Step-downs from a low box, split squats, squats, lunges, and slow step-ups are especially relevant. During the lowering phase, move slowly for three to five seconds. That is the part of the movement that most closely resembles downhill trekking.
Single-leg exercises matter because trekking is a long sequence of one-leg landings. Begin with a low step and excellent form. If your knee caves inward or your pelvis drops to one side, reduce the difficulty and build control before increasing the height or load.
Practice with elevation and a pack
Add hills, stair sessions, or a stair machine to your walking program. Begin with short descents and light pack weight, then increase one variable at a time: duration, vertical gain, pack weight, or terrain difficulty. Do not add all four in the same week.
A practical target is to complete several training hikes that include both climbing and descending while carrying the gear weight you expect to carry on the trek. If a porter will carry your main duffel, train with your daytime pack, water, layers, snacks, and camera rather than an artificially heavy load.
Do not make the final weeks a fitness test
A common mistake is attempting a huge hike shortly before flying to Nepal. This can leave you with irritated knees, blisters, or fatigue before the trek begins. Reduce volume during the final seven to 10 days, keep moving lightly, and arrive rested enough to adapt to altitude and trail conditions.
Use trekking poles correctly
Trekking poles are one of the most useful tools for preventing knee pain, particularly downhill. They transfer part of the load through the arms and help stabilize you on uneven steps, mud, and loose rock. They are not a substitute for strength, but they can reduce the repeated impact that builds over a long day.
Set poles slightly longer for sustained descents than for climbs. On steep stairs, place both poles securely before lowering yourself to the next step when space allows. Keep your elbows soft and use the straps correctly so you can bear weight through the heel of your hand instead of gripping the handles tightly.
Poles only help when they are ready to use. Keep them accessible from the first descent instead of strapping them to your pack until pain has already started. Practice with them during training hikes so the movement feels automatic on Nepal’s narrow trails.
Choose footwear and pack weight with care
The best footwear is not necessarily the stiffest or tallest boot. It is the pair that fits securely, gives reliable traction, and has been tested on long walks. Your heel should not slide on descents, and your toes should not repeatedly hit the front of the shoe. Toe impact often makes trekkers shorten their stride or brace awkwardly, which can increase knee stress.
Break footwear in before the trip, but do not wear an old pair that has lost its cushioning or tread. Use socks that keep your feet dry and consider lacing techniques that lock the heel in place. If you use insoles, test them for several weeks before departure rather than introducing them on the trek.
Keep your daypack as light as practical. Every unnecessary kilogram is multiplied over thousands of downhill steps. Carry water, insulation, rain protection, sun protection, personal essentials, and snacks, but review whether heavier camera equipment, duplicate clothing, or nonessential items are worth carrying all day.
Pace descents to prevent trekking knee pain
The fastest person downhill is not always the strongest trekker. Moving too quickly increases the force of each landing and raises the chance of slipping. Shorten your stride, keep a slight bend in the knees, and avoid locking the knee straight as you land.
On large stone steps, use switchbacks or side steps where safe instead of dropping straight down every high step. Turn slightly sideways for very tall steps if that gives you better control. The goal is not perfect technique on every rock. It is to avoid repeatedly jolting the same joint when fatigue is reducing your control.
Take short breaks before your legs feel unstable. A two-minute pause to drink, loosen your shoulders, and reset your pace can be more useful than pushing hard for an hour and needing a long stop later. This is particularly relevant on the final descent toward a roadhead, when trekkers often rush to finish.
Plan an itinerary that respects recovery
Knee health is partly an itinerary issue. A route with several major descent days in a row may be harder on the knees than a route with the same total distance spread across more days. This is one reason a sensible itinerary can be safer than selecting the shortest possible version of a trek.
Build in acclimatization and contingency time. Rest or easier days support recovery, while they also provide a buffer for poor weather, delayed flights, or slower walking at altitude. On a guided trek, tell your guide early if you have prior knee injuries or begin feeling discomfort. Small adjustments to pace, pack carry, and rest timing are easier before pain becomes severe.
If you are choosing between routes, consider trail character as well as distance and maximum elevation. A shorter trek with steep daily descents may be tougher on sensitive knees than a longer, more gradual route. Ask specifically about stone stair sections, downhill duration, and the expected condition of the trail during your travel season.
What to do when knee pain begins on the trail
Do not ignore sharp pain, swelling, a knee that gives way, locking, or an inability to bear weight. These symptoms need medical assessment and may require ending or changing the trek. Continuing through significant instability can turn a minor problem into an injury that affects the rest of your trip.
For mild soreness, reduce the downhill pace immediately, use poles, lighten your load where possible, and take a longer break. Cold can relieve symptoms for some trekkers, but avoid placing ice directly on the skin. Gentle movement is often better than sitting still for hours, provided the pain is mild and does not worsen.
Pain medication can mask warning signs and should not be used to force a demanding day. If you take medication, follow advice from a qualified clinician who understands your health history. Do not confuse knee pain with altitude illness either: headache, nausea, unusual fatigue, dizziness, and poor coordination require their own cautious response.
When to seek advice before departure
See a sports medicine clinician or physical therapist before booking a demanding trek if you have had knee surgery, recurrent swelling, a ligament injury, arthritis, persistent pain while walking downstairs, or pain that begins early in training. They can identify movement limitations and prescribe exercises suited to your condition.
A brace or supportive strap may help some people, but it depends on the cause of the pain and the fit. Do not rely on a new brace as your main plan. Test any support during multiple training hikes, along with your boots, poles, and pack.
Your knees do not need to be indestructible for a Himalayan trek. They need preparation, sensible equipment, and enough time to move at a controlled pace. Treat the first long descent as a place to settle into good habits, not a race to the next teahouse.